 GitBucket
A clone of pixi.js with support for SystemJS builds
|
|
|||
|---|---|---|---|
| bin | 10 years ago | ||
| gulp | 10 years ago | ||
| src | 10 years ago | ||
| test | 10 years ago | ||
| .editorconfig | 11 years ago | ||
| .gitignore | 11 years ago | ||
| .jshintrc | 11 years ago | ||
| .travis.yml | 10 years ago | ||
| CONTRIBUTING.md | 10 years ago | ||
| LICENSE | 11 years ago | ||
| Pixi_mini.jpg | 10 years ago | ||
| README.md | 10 years ago | ||
| bower.json | 11 years ago | ||
| gulpfile.js | 11 years ago | ||
| inch.json | 11 years ago | ||
| package.json | 10 years ago | ||
| testem.json | 11 years ago | ||
Pixi.js — A 2D JavaScript Renderer


Pixi.js


The aim of this project is to provide a fast lightweight 2D library that works across all devices. The Pixi renderer allows everyone to enjoy the power of hardware acceleration without prior knowledge of WebGL. Also, it's fast. Really fast.
Are you a dreamer, a designer, an artist or just an ordinary person? Would you like to build an amazing game? Are you confortable with Javascript? If your answer is yes, you are in the right place!
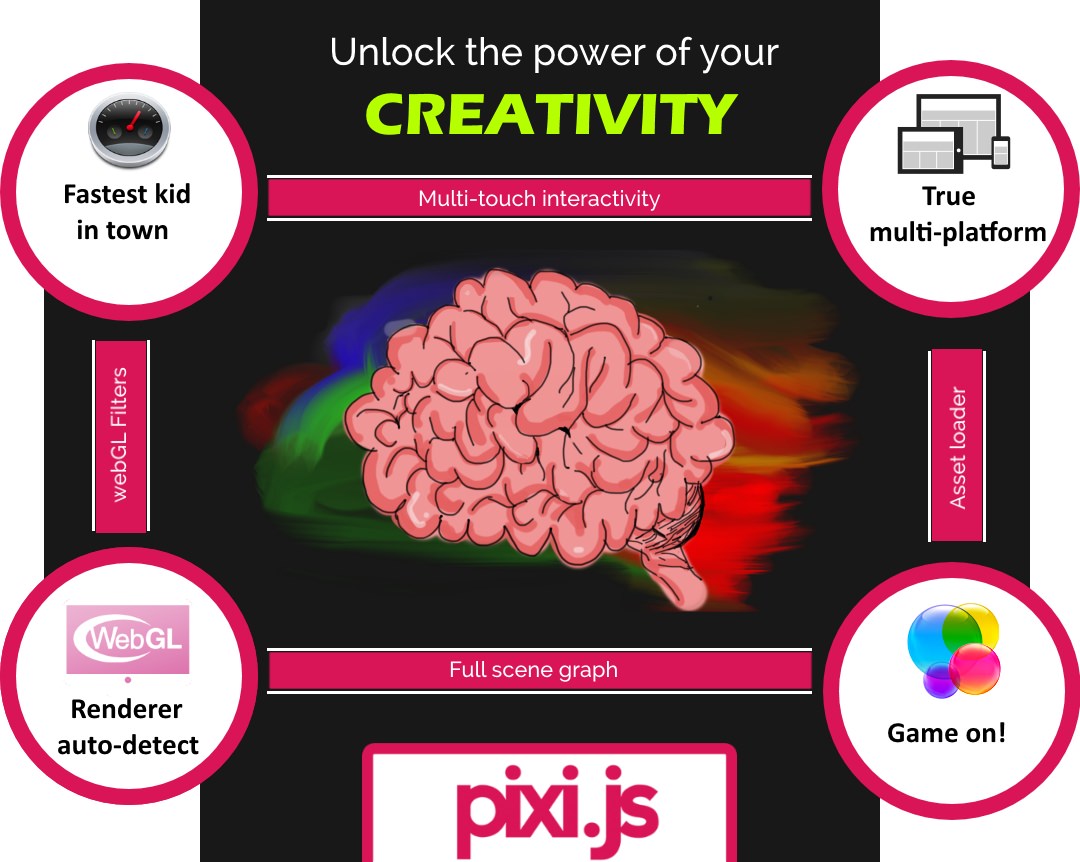
###Unlock the power of your creativity with Pixi.js and focalize your attention to build richer content in HTML5 and plain Javascript
One of the key feature of Pixi.js is to ease the use of WebGL, masking its complexity and allowing you to spend much time creating amazing things with less code and without struggling with the OpenGL's shading language, Matrix computation and Vertex buffers.
####Pixi.js comes with a solid and ease to use API
Don't you still believe in that ? Look at the WebGL's prerequisites:
WebGL is a low-level API, so it's not for the faint of heart. OpenGL's shading language, GLSL, is itself an entire programming environment. As a result, even simple things in WebGL take quite a bit of code. You have to load, compile, and link shaders, set up the variables to be passed in to the shaders, and also perform matrix math to animate shapes. Basic areas you'll need to be familiar with include:
- GLSL, the shading language used by OpenGL and WebGL
- Matrix computation to set up transformations
- Vertex buffers to hold data about vertex positions, normals, colors, and textures (?)
###Build the next must-have cross platform app with Pixi.js
If you want to keep up to date with the latest pixi.js news then feel free to follow us on twitter (@doormat23, and @rolnaaba) and we will keep you posted! You can also check back on our site as any breakthroughs will be posted up there too!
Your support helps us make Pixi.js even better. Make your pledge on Patreon and we'll love you forever!
Demos
- WebGL Filters!
- Run pixie run
- Fight for Everyone
- Flash vs HTML
- Bunny Demo
- Storm Brewing
- Filters Demo
- Render Texture Demo
- Primitives Demo
- Masking Demo
- Interaction Demo
- photonstorm's Balls Demo
- photonstorm's Morph Demo
Thanks to @photonstorm for providing those last 2 examples and allowing us to share the source code :)
Resources
- API Documentation is here.
- Feature Examples are here.
- The Pixi.js Forum is here.
- Other misc tutorials and resources are on the Wiki.
Contribute
Want to be part of the pixi.js project? Great! All are welcome! We will get there quicker together :) Whether you find a bug, have a great feature request or you fancy owning a task from the road map above feel free to get in touch.
Make sure to read the Contributing Guide before submitting changes.
Current features
- WebGL renderer (with automatic smart batching allowing for REALLY fast performance)
- Canvas renderer (Fastest in town!)
- Full scene graph
- Super easy to use API (similar to the flash display list API)
- Support for texture atlases
- Asset loader / sprite sheet loader
- Auto-detect which renderer should be used
- Full Mouse and Multi-touch Interaction
- Text
- BitmapFont text
- Multiline Text
- Render Texture
- Primitive Drawing
- Masking
- Filters
- User Plugins
Basic Usage Example
// You can use either `new PIXI.WebGLRenderer`, `new PIXI.CanvasRenderer`, or `PIXI.autoDetectRenderer`
// which will try to choose the best renderer for the environment you are in.
var renderer = new PIXI.WebGLRenderer(800, 600);

// The renderer will create a canvas element for you that you can then insert into the DOM.
document.body.appendChild(renderer.view);

// You need to create a root container that will hold the scene you want to draw.
var stage = new PIXI.Container();

// load the texture we need
PIXI.loader.add('bunny', 'bunny.png').load(function (loader, resources) {
    // This creates a texture from a 'bunny.png' image.
    var bunny = new PIXI.Sprite(resources.bunny.texture);

    // Setup the position and scale of the bunny
    bunny.position.x = 400;
    bunny.position.y = 300;

    bunny.scale.x = 2;
    bunny.scale.y = 2;

    // Add the bunny to the scene we are building.
    stage.addChild(bunny);

    // kick off the animation loop (defined below)
    animate();
});

function animate() {
    // start the timer for the next animation loop
    requestAnimationFrame(animate);

    // each frame we spin the bunny around a bit
    bunny.rotation += 0.01;

    // this is the main render call that makes pixi draw your container and its children.
    renderer.render(stage);
}
How to build
Note that for most users you don't need to build this project. If all you want is to use pixi, then just download one of our prebuilt releases. Really the only time you should need to build pixi.js is if you are developing it.
If you don't already have Node.js and NPM, go install them. Once you do, you can then install the gulp executable:
$> npm install -g gulp
Then, in the folder where you have cloned the repository, install the build dependencies using npm:
$> npm install
Then, to build the source, run:
$> gulp build
This will create a minified version at bin/pixi.min.js and a non-minified version at bin/pixi.js with all the plugins in the pixi.js project.
If there are specific plugins you don't want, say "interaction" or "extras", you can exclude those:
$> gulp build --exclude extras --exclude interaction
You can also use the short-form -e:
$> gulp build -e extras -e interaction -e filters
How to generate the documentation
The docs can be generated using npm:
$> npm run docs
There is also a gulp task to generate them if you want to:
$> gulp jsdoc
The documentation uses Jaguar.js and the jsdoc format, the configuration file can be found at gulp/utils/jsdoc.conf.json
License
This content is released under the (http://opensource.org/licenses/MIT) MIT License.